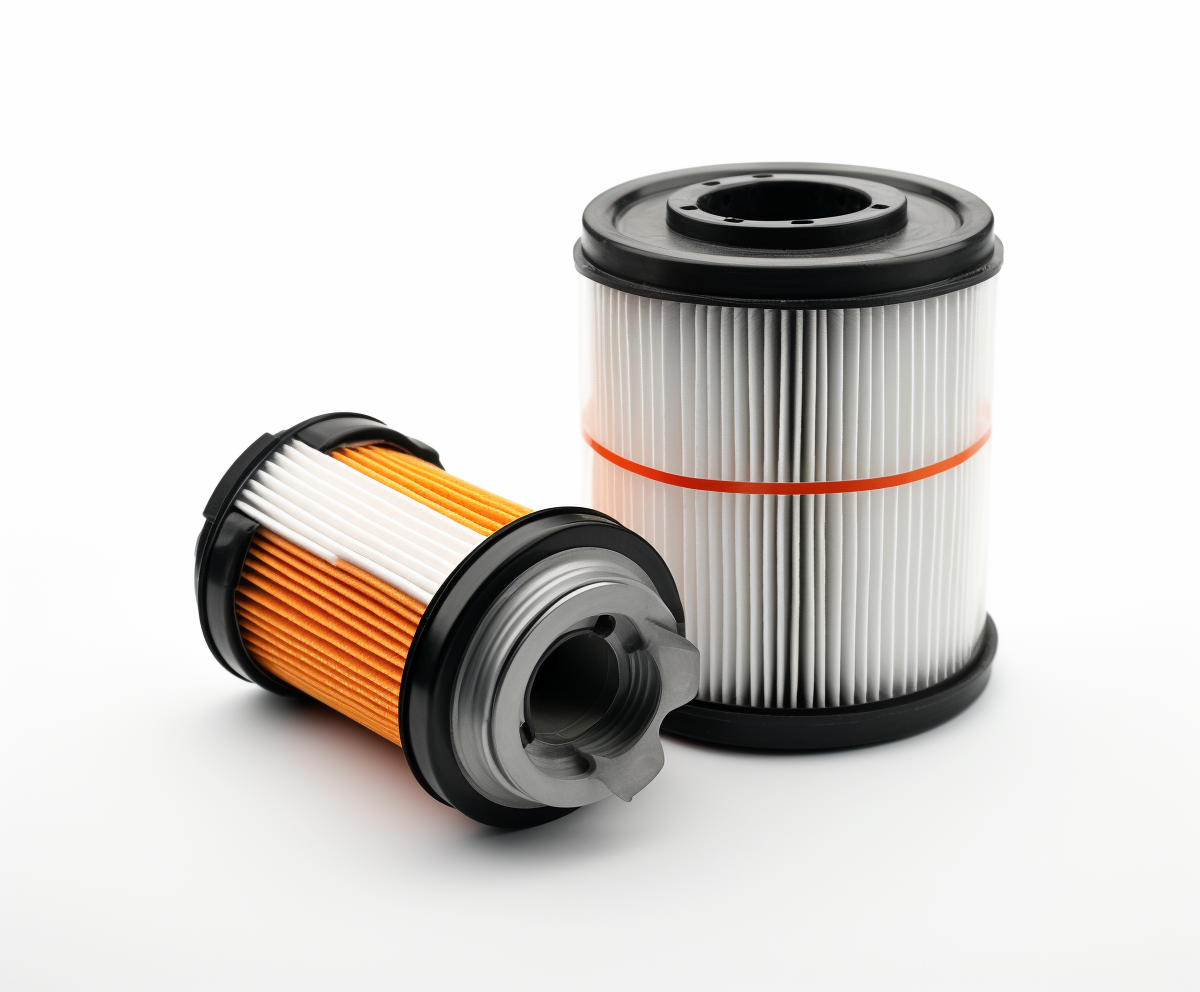
Changing your Vehicle Oil Filteris actually pretty important if you want your engine to run smoothly. A clean Filter does a good job at trapping dirt and debris before they sneak into the oil system. Skip it, and you might end up with engine problems or costly repairs down the line — nobody wants that!
Honestly, a lot of car owners just don't give this much thought. Sometimes they don’t realize how much a fresh Oil Filter can really help. Yeah, it’s easy to forget, especially when life gets busy. But trust me, just taking a quick moment to check it out can really extend your engine’s life over time.
Make sure you have the right tools on hand—like a good oil filter wrench and a container to catch the used oil. Sometimes, those filters can be a real pain, especially if they’re super tight or stuck in awkward spots. No need to rush it—take your time, double-check you’ve got everything right, and you'll do just fine. And honestly, each time you do it, you'll get a bit better at the whole process. It’s all part of learning, right?

Understanding the Importance of a Clean Oil Filter
A clean oil filter is crucial for the health of your vehicle. It removes contaminants from engine oil, ensuring smooth performance. According to a study by the American Petroleum Institute, up to 80% of engine wear can be attributed to dirty oil. A clogged filter restricts oil flow, leading to inadequate lubrication. Over time, this can severely damage engine components.
Regular replacement of your oil filter is essential. Experts recommend changing it every time you change your oil. For most vehicles, that means every 3,000 to 5,000 miles. This practice not only enhances engine longevity but also boosts efficiency, saving fuel. In regions like China, where dust levels are high, maintaining a clean oil filter is even more critical.
Tips for changing your oil filter: use the correct tools for easy removal. Ensure you lubricate the gasket of the new filter to prevent leaks. When you dispose of the old filter, follow local regulations. A small mistake can lead to bigger issues later. Pay attention to how the oil flows. If it’s murky, it may signal deeper problems.
Gathering Necessary Tools and Materials for the Task
Changing your vehicle oil filter is an essential maintenance task. To perform the task effectively, you need to gather several essential tools and materials beforehand. First, obtain an oil filter wrench. This tool helps loosen the old filter easily. Next, you will need a drain pan. This container will catch oil drips and spills, preventing a messy workspace.
Don't forget to have clean rags or shop towels handy. They are useful for wiping any spills or cleaning your hands. A funnel can also help when pouring new oil into the engine. Ideally, you should have new oil and the correct oil filter on hand. Check your vehicle's manual to ensure compatibility.
Sometimes, people forget these basics. They might begin the task and then realize they lack the right tools. This oversight can lead to frustration and delays. It’s better to double-check your supplies before starting. Taking this initial step saves time and promotes a smoother process. Always prepare to create a more efficient work environment.
Locating the Oil Filter in Your Vehicle
Locating the oil filter in your vehicle can be tricky. It’s usually hidden from plain sight. Start by checking your owner's manual. This guide provides specific instructions tailored to your vehicle model. Look beneath the hood and under the car. The oil filter is often located near the engine, either on the side or underneath it.
Tips: Use a reliable flashlight when searching. Good lighting reveals locations easily. It’s also handy to wear gloves. Oil can be messy, and your hands will thank you. Keep a pan beneath the filter to catch any drips during the change.
Sometimes, you may struggle to find it. Don’t panic. Check online resources or forums that focus on your vehicle type. Many enthusiasts share tips and images. If frustration sets in, take a break. A clear mind helps.
Remember, not every oil filter is the same. Some vehicles have a challenging layout. Consider investing in a Wholesale Vehicle Oil Filter for better compatibility and ease. These filters are designed to fit well, enhancing your oil change experience.
Preparing the Vehicle for Oil Filter Replacement
Preparing your vehicle for an oil filter replacement is crucial. Start by gathering your tools. You will need an oil filter wrench, a drain pan, and a funnel. Make sure to have fresh oil and a new Vehicle Filter ready. Safety gear is important too. Wear gloves and goggles to keep your hands and eyes clean and protected.
Next, park your vehicle on a flat surface. This will prevent spills and ensure an easier process. Engage the parking brake for added safety. Allow the engine to cool down. Hot parts can cause burns. Check the owner’s manual for specific instructions about your vehicle. This step is often overlooked, but it’s vital for correct oil filter replacement.
Do not forget to check for leaks. Once the new filter is in place, run the engine for a few minutes. Look underneath to ensure everything is sealed properly. If you see any oil, you may need to tighten connections. Keep an eye on the oil level too. Reflect on your process. Did you miss any steps? Learning from mistakes is essential for improving your skills in vehicle maintenance.
Removing the Old Oil Filter Safely and Efficiently
Changing your vehicle's oil filter can be a daunting task. But removing the old oil filter doesn't have to be complicated. Start by gathering your tools—a wrench, an oil filter wrench, and a drain pan. Make sure to wear gloves to keep your hands clean and protected.
Position the drain pan under the oil filter before you begin. This will catch any oil that may spill out during removal. Use the oil filter wrench to loosen the filter. Be careful; it may be tight. Once loose, turn it by hand. As you remove it, some oil will likely spill out. Just try to keep it contained.
After you remove the old filter, check the rubber gasket. Sometimes it sticks to the engine. If it does, it can cause leaks with the new filter. Make sure to wipe the area clean before installing the new filter. A thoughtful approach ensures everything works smoothly, but don’t rush. Take your time to ensure safety and efficiency.
Installing the New Oil Filter Correctly
When installing a new oil filter, precision is essential. An improperly fitted oil filter can lead to leaks, which can cause serious engine damage. According to industry studies, approximately 50% of engine failures are linked to negligent oil and filter changes. Keeping your vehicle in good condition is not just about regular oil changes; it’s about doing it correctly.
Before you install the new filter, ensure that the old one is removed completely. Use an oil filter wrench to avoid spills. Clean the area where the filter sits. A dirty residue can interfere with the new filter's seal, causing leaks. You should also apply a bit of fresh oil to the new filter’s gasket. This practice offers a better seal and makes removal easier during the next change.
When fitting the new oil filter, tighten it snugly but avoid overtightening. Research has shown that over-tightening can lead to damaged gaskets. An estimated 30% of do-it-yourselfers report encountering leaks due to improper installation. Always double-check your connections afterward. An extra moment spent inspecting your work can prevent costly repairs and keep your engine running smoothly.
Disposing of the Old Oil Filter Responsibly
When changing your vehicle oil filter, disposing of the old one responsibly is crucial. About 90% of the oil filter's weight is made up of metal. Improper disposal can lead to environmental harm. According to the Environmental Protection Agency (EPA), over 1.5 billion used filters are thrown away each year. That's a significant concern for our planet.
To dispose of oil filters properly, drain them for several hours. This process allows the remaining oil to drain out. Place the drained filters in a sealed container. Many auto parts stores or recycling centers accept used filters. In China, Vehicle Filter disposal regulations are becoming stricter.People must recycle to protect the environment. The more we recycle, the better for the planet.
Don't ignore the need for proper disposal. Some might think it’s just one filter, but every bit counts. Small actions lead to significant changes. Remember, while changing the filter can be simple, responsible disposal requires commitment. It’s a step we can all take toward a cleaner environment.
Enhanced Vehicle Performance: The Impact of High-Quality Cabin Air Filters on Car Air Conditioning Efficiency - Insights from Market Analysis
High-quality cabin air filters play a crucial role in enhancing vehicle performance, particularly in optimizing the efficiency of car air conditioning systems. These filters are designed to remove pollutants and allergens from the air entering the vehicle's interior, ensuring a cleaner and healthier environment for passengers. By using a superior cabin air filter, drivers can experience significant improvements in airflow, leading to an effective and efficient air conditioning system. This results in a more comfortable driving experience, especially during hot weather conditions where reliable climate control is essential.
One particularly noteworthy option in the market is a standard-sized cabin air filter made from white fiber or carbon materials. It boasts OE number 95981206 and is suitable for a variety of car models, including Chevrolet, Ravon, and GM vehicles. The production allows for customization to meet specific needs, ensuring that customers can receive a product tailored to their preferences. With a minimum order quantity of only 100 pieces for neutral packages, it's accessible for both individual buyers and large distributors. Furthermore, stringent quality certifications, including ISO 9001:2015 and IATF 16949:2016, highlight the filter's reliability and performance in various markets, from the United States to Southeast Asia.
As consumers increasingly recognize the importance of maintaining clean and efficient air conditioning systems, investing in high-quality cabin air filters will not only enhance vehicle performance but also contribute to the overall longevity and reliability of their automotive systems. With a delivery time of 15 to 20 days after deposit, this product stands out as a timely and effective solution for improving car air conditioning efficiency.
FAQS
: Gather an oil filter wrench, drain pan, funnel, fresh oil, and a new filter.
Park on a flat surface, engage the parking brake, and let the engine cool down.
The manual provides specific instructions for your vehicle. It helps avoid mistakes.
Position the drain pan under the filter before starting the removal process.
Run the engine for a few minutes and check underneath for any leaks.
Wipe the area clean to prevent leaks with the new filter.
Take your time and reflect on each step to avoid potential mistakes.
Wear gloves and goggles to protect your hands and eyes during the replacement.
Tighten connections and recheck the installation to ensure everything is sealed properly.
It can be daunting. Stay mindful and follow each step carefully to succeed.
Conclusion
Changing your vehicle oil filter is a crucial maintenance task that ensures optimal engine performance and longevity. A clean oil filter helps remove contaminants from the engine oil, improving overall efficiency and protecting vital engine components. Before starting the process, gather the necessary tools and materials, such as an oil filter wrench, new oil filter, and a drain pan.
Once equipped, locate the oil filter in your vehicle—usually found near the engine block. Prepare by ensuring the vehicle is on a flat surface and the engine is cool. Safely remove the old oil filter using the wrench and allow any remaining oil to drain. After disposing of the old filter responsibly, install the new oil filter, ensuring a secure fit. Following these steps carefully will help maintain your vehicle’s performance and extend its lifespan.

 Products
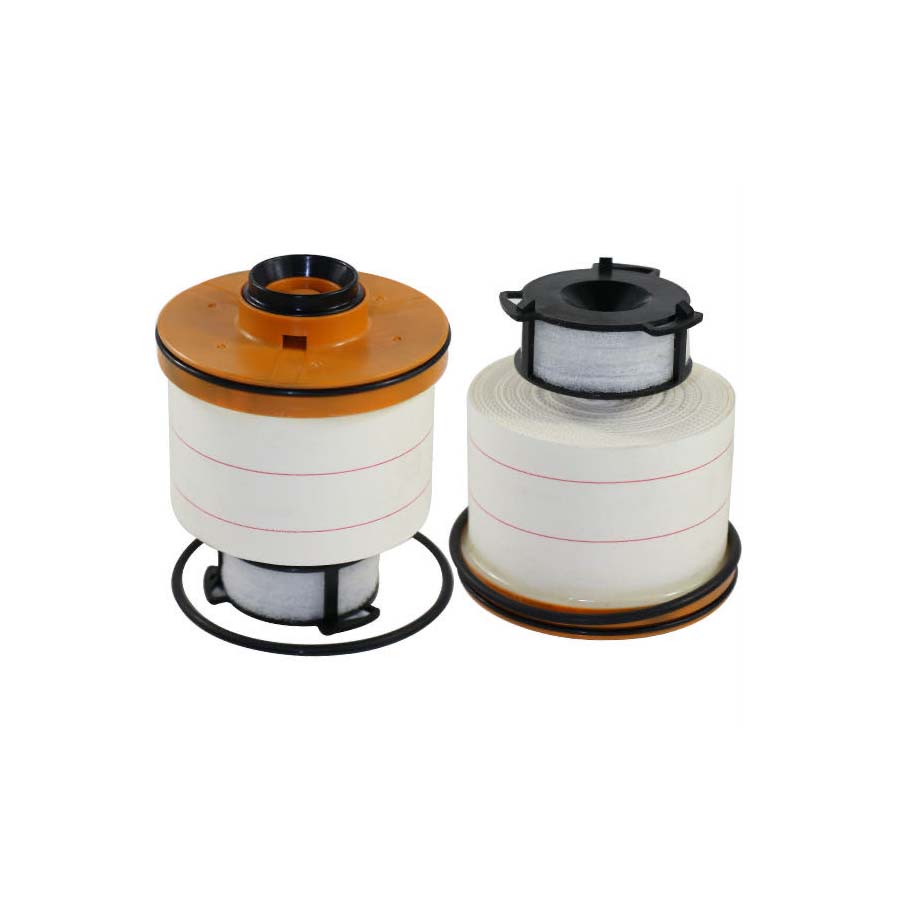 FUEL FILTER
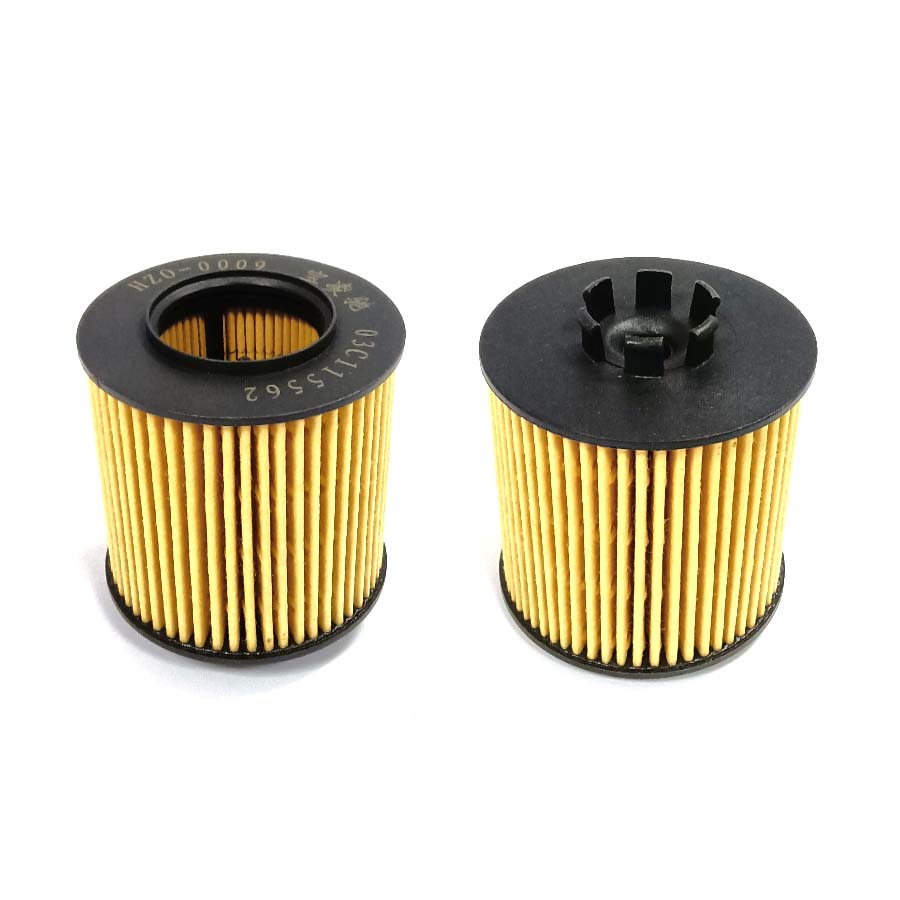 OIL ELEMENT FILTER
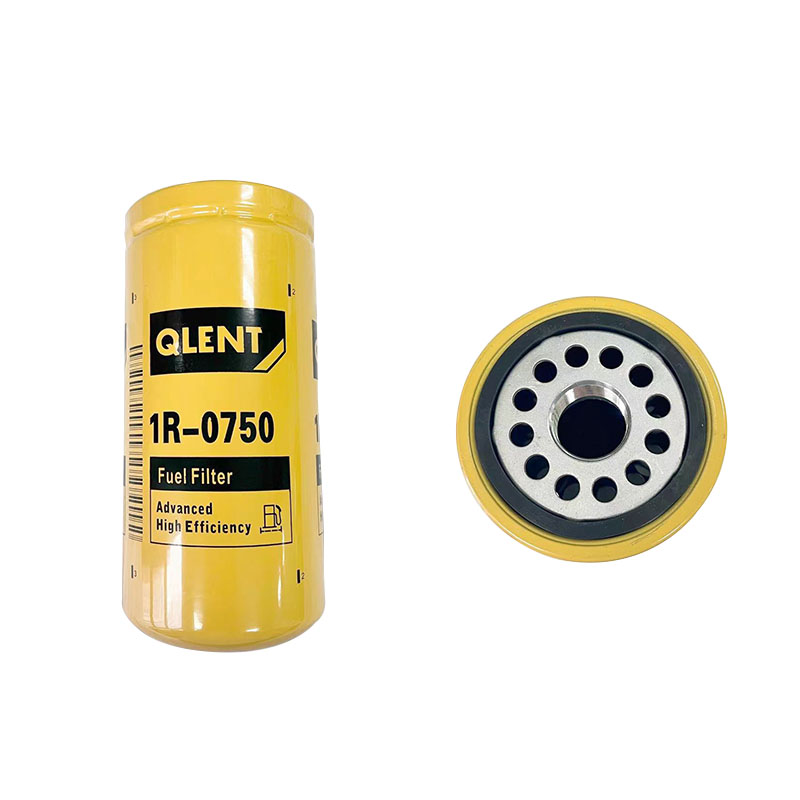 OIL FILTER
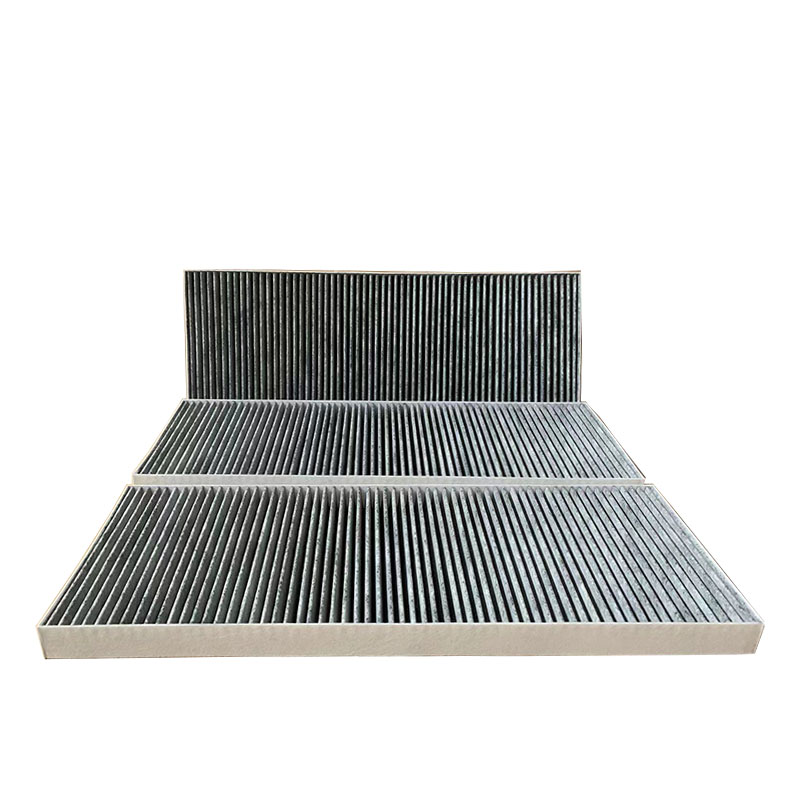 CABIN FILTER
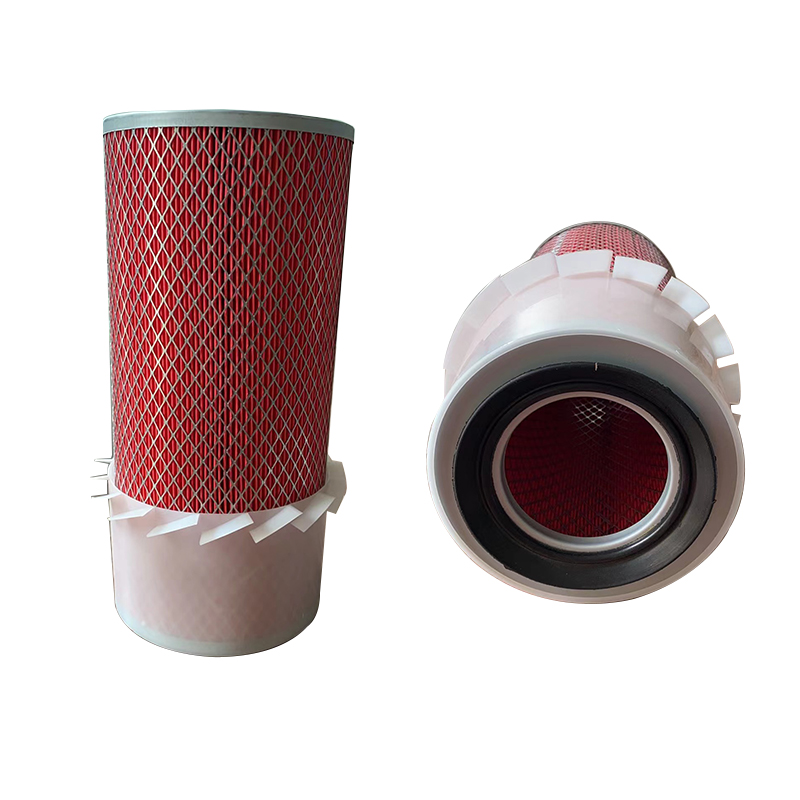 AIR FILTER